Showing posts with label appetizers. Show all posts

Friday, December 30, 2011

Deviled Eggs

There's something so cool about deviled eggs. Classic cocktail party appetizer comes to mind, but I've seen them popping up on the menus of some pretty hip joints lately.

Apparently they originated in Ancient Rome and have been wildly popular in North America since the 1940's.

They are easy to make and can be quite sophisticated, especially with some fun garnishes. I made them this year for Christmas Day. On some I put chopped sweet pickles and on others I planted crispy bacon strips that I had sprinkled with brown sugar and cayenne pepper before cooking. The traditional dusting of smoked paprika is nice too.

Boy, did they go fast!

Basic Deviled Eggs
  • 8 jumbo (xlarge) eggs, hard boiled* and peeled
  • 1/3 cup mayonnaise
  • 1 1/2 tsp yellow or Dijon mustard
  • 1 1/4 to 1 1/2 (depending on how much tang you prefer) tsp white wine vinegar
  • kosher salt
  • fresh ground black pepper
  • smoked paprika, chopped sweet pickles, crispy bacon (optional)
In a medium-sized bowl add the mayonnaise, mustard, vinegar, 1/4 teaspoon of salt and 1/8 teaspoon of pepper.
Whisk until the ingredients are well combined, smooth and creamy. Carefully cut eggs in half. Arrange egg whites cut side up on a serving plate, remove the yolks and add them to the mixing bowl. Mash yolks with fork into the mayonnaise mixture until smooth. Add more salt and pepper to taste if desired.

Spoon or pipe (from a pastry bag) a little bit of the mixture into each egg white half, dividing mixture as evenly as possible between the eggs. Right before serving, sprinkle eggs with smoked paprika and add some toppings if desired. Serve immediately or refrigerate until ready to serve.

*To hard boil eggs, I like to place the eggs in a pot. Fill the pot with cool water until an inch above the eggs. Bring water to a boil, turn down the heat and cook for 2 minutes on a low boil. Then turn off the heat and cover. Let sit for a half hour. Then drain and let eggs cool.

Friday, December 23, 2011

White Bean Spread with Rosemary and Toasted Almonds

This dip is divine. I first tried it at a jewelry party I did for a friend. I couldn't stop eating it that night!

The rosemary adds a fragrant earthiness to the beans and the almonds add nuttiness and texture. I served mine with reduced fat pita chips. If you need an elegant appetizer to serve at your next cocktail party, this is a winner.


White Bean Spread with Rosemary and Toasted Almonds
Yield: about 2 cups/500ml
Souce: Heidi Swanson's Super Natural Every Day

  • 1/4 cup (60ml) extra-virgin olive oil
  • 1 teaspoon chopped fresh rosemary
  • 1 clove garlic, finely chopped
  • 2 cups (12oz/340g) cooked white beans, or 1 (15oz/425g) can, rinsed and drained
  • 3/4 cup (70g) sliced almonds, toasted
  • sea salt
  • 1 tablespoon lemon juice, plus more to taste
  • 1/4 to 3/4 cup (60-180ml) hot water
  • grated zest of 1/2 lemon
In a small saucepan, combine the olive oil, rosemary and garlic. Over medium-low heat, slowly warm the mixture until the oil just barely starts to sizzle, 1 to 2 minutes. Remove from the heat and set aside for 10 minutes. Pour the oil through a strainer and discard the garlic and rosemary bits.
In a food processor, combine the beans, two-thirds of the almonds, 1/2 teaspoon salt, the lemon juice and two-thirds of the rosemary oil. Pulse a couple of times to bring the ingredients together. Add the water 1/4 cup (60ml) at a time, pulsing all the while, until the mixture is the consistency of thick frosting. You might not need all the water; it really depends on how starchy your beans are and how thick you want your spread to be (I stopped at 1/4 cup). Taste the mixture and add more salt and/or lemon juice to taste.
Scoop the beans into a small serving dish and make a few indentations in the top. Sprinkle with the lemon zest and the remaining almonds and drizzle with the remaining rosemary oil. Serve at room temperature with bread, crackers, crudites, etc.

Friday, December 31, 2010

Salmon Carpaccio

I was at this great Asian market today and found the most beautiful piece of sashimi grade salmon. AND it was only $5! Even though I wasn't sure what I was going to make with it, there was no way I was leaving the store without it.

With a few simple ingredients I had around, I made the most delicious salmon carpaccio. All the holiday eating, okay gorging, I had been doing was starting to make me feel a little bloated. This and some noodle soup made a refreshing and light dinner.

HAPPY NEW YEAR!!! May 2011 be the best year ever. xoxo

Salmon Carpaccio

  • 1/3 lb sashimi grade salmon, sliced 1/4 to 1/3 inch thick
  • ground sea salt or kosher salt and freshly ground pepper
  • 2 tbsp freshly squeezed lemon juice
  • 1 1/2 tbsp olive oil
  • 1 tbsp red onion, small dice
  • 1 to 2 tbsp capers, drained
Arrange the salmon slices nicely on a serving plate. Give them a sprinkling of salt and pepper.

Evenly scatter the onion and capers over the salmon.

In a small bowl, whisk the lemon juice and olive oil until well combined and slightly thickened. Pour over the salmon. 

Serve immediately.

Saturday, October 23, 2010

The Great Pumpkin...Seeds

Today was pumpkin carving day at our house. The kids went to a pumpkin patch with their grandparents on Monday to pick a couple out. 
My hubby did an awesome job of turning the pumpkins into spooky jack-o-lanterns. There were seeds and guts flying everywhere, it made the day very festive and got us all in the mood for Halloween.

The added bonus...roasted pumpkin seeds!!!

They are easy to make, great to snack on and loaded with nutritional value, click here to read about it.

Roasted Pumpkin Seeds

Heat oven to 325 degrees F.

Put pumpkin seeds in a colander and rinse well with cold water. Remove as much pulp as possible. Dry them with a paper towel and put them in a bowl. Give them a light drizzle of olive oil and a light sprinkle of salt and pepper (or try cinnamon and sugar).

Toss with your hands until seeds are evenly coated.
Spread them out onto a baking sheet so they are not overlapping each other and roast for about 25-30 minutes or until slightly golden brown.

Monday, September 27, 2010

Chicks in a Blanket

So here is the recipe for the appetizers I made for the Hollywood Bowl last week. 


My darling friend Kathryn was a pescetarian for as long as I can remember. Meaning she ate seafood but no other meats. Just recently, she has been dabbling in poultry. It's been fun cooking chicken for her!


These "chicks" in a blanket are my version of pigs in a blanket but I substituted the traditional pork sausage with chicken sausage. They were decadent and very tasty. 
 

Chicks in a Blanket

    •    frozen (or homemade) puff pastry dough, defrosted slightly but still very cold
    •    shredded Gruyere cheese
    •    1 large chicken sausage (I used a smoked apple chardonnay kind), cut into 8 pieces lengthwise

Preheat oven to 350 degrees F.
Lightly flour a smooth and clean work surface. Place your cold pastry dough down and use a 2 to 2 1/2 inch diameter round cookie cutter to cut out eight circles.
Sprinkle a little cheese onto each circle, then a piece of sausage. Fold the edges over one another and press together well to seal.
Place all of the finished pieces onto a baking sheet lined with parchment paper or baking mat and bake for 20-25 minutes or until golden brown.

Allow to cool for ten minutes before serving or you will have some burnt mouths!


Cool Tools:

Sunday, August 1, 2010

Baked Kale Chips

For the longest time now, I kept hearing about baked kale chips. I know kale is crazy good for you but getting my kids to eat it...well, that would be a challenge.

I did some research online and found out that kale is very high in beta carotene, vitamins K and D, and contain some calcium. It is a powerful antioxidant and is believed to have potent anti-cancer properties. Hello, super food!

So in conclusion, I made these "chips" today and was shocked at how tasty they were. Not quite potato-ey, but light and crisp. Best part? My kids devoured them. My son even said he'd like them in his lunchbox.

A special thanks to all the fabulous ladies that lead me to this super nutritious snack. I'm so glad I finally tried it!
Baked Kale Chips

  • 1 large bunch of kale
  • 1 to 2 tsp olive oil
  • kosher or sea salt
Preheat your oven to 350 degrees F.

Start by cutting the leaves away from the thick stem part. If you flip the leaves so that the underside is facing you, it's easier to see the stems. Then cut the leaves into 2-3 inch pieces.
Rinse and dry the heck out of them. A salad spinner works wonders for this but is not necessary.

In a large, dry bowl, toss the kale with the olive oil, enough to lightly coat the kale. 

Spread the kale out onto a baking sheet lined with parchment paper or non-stick mat. Do a single layer and try not to overlap the kale. You may have to do two batches.

Put them into the oven and bake for 12-15 (or longer!) minutes or until they are crisp but remove right before they start to brown. Cooking time depends on your oven and kale. I made another batch on a different day and it took 20 minutes; you can always check the crispness by carefully touching a piece.

Remove from the oven, let cool for a few minutes and then use a turner/spatula to scoop them into a serving dish. Give a light sprinkling of sea salt, a small pinch will do.


Cool Tools:

Tuesday, July 13, 2010

Start spreading the news...

Not too long ago I made some delicious Roasted Eggplant Dip that was a revised version of The Barefoot Contessa's. Boy was I tickled when I found yet another recipe of hers for an eggplant spread. So of course I had to try it...and of course I had to alter it.

This is my version of the spread. I served it with whole wheat Middle Eastern flat bread & pita chips. Or try spreading some onto a sandwich. It is as healthy as it is yummy!

 
This is all that was left of the dip when I finally remembered to take a photo of it.

Roasted Eggplant Dip II

  • 2 medium eggplant
  • 1 large red bell pepper
  • 1 medium onion, peeled
  • 5 tsp chopped garlic
  • 1/3 cup good olive oil
  • kosher salt
  • freshly ground black pepper
  • 2 tablespoon tomato paste
  • juice of half a lemon

Directions

Preheat the oven to 400 degrees F.
Cut the eggplant, bell pepper and onion into 1-inch cubes. Toss them in a large bowl with the garlic, olive oil, one teaspoon salt, and 1/2 teaspoon pepper. Spread them on a baking sheet. Roast for 45 minutes or until the vegetables are lightly browned and soft, tossing once during cooking.

Cool slightly.

Place the vegetables in a food processor fitted with a steel blade, add the tomato paste, half the lemon juice and pulse 3 or 4 times to blend. Taste it. Add as much more lemon juice as you prefer. Salt and pepper to taste if necessary. Pulse a few more times to blend. You want to leave it a little chunky.


Cool Tools:

Tuesday, May 25, 2010

Let them eat cakes...

Sometimes things get lost in the back of my refrigerator's fruit and veggie drawer. Sometimes things are not found until they get real ugly. Today I was looking through the fridge for dinner ideas. I found two leeks that were starting to look a little sad and wilty.

I was planning to make seared fish fillets tonight but with the discovery of the lost leeks, I switched gears and made fish cakes instead. They are along the same lines as a crab cake. I've had salmon cakes before but I've never tried using a white fish. And instead of onions, I thought leeks would be a nice alternative.

Well, they were delicious. I used orange roughy so its firm texture almost tasted like shell fish. If you ever have left over fish, try making fish cakes. I'm thinking most fishes would work. 
Fish and Leek Cakes
  • 3 fillets(about 1 lb) of white fish(halibut, talapia, snapper, orange roughy, etc.), rinsed in cold water and dried well with paper towels
  • 2 leeks (about 2 cups); white and light green parts only; sliced in half lengthwise and rinsed real well; cut crosswise into 1/4 inch slices
  • 1 small red bell pepper, 1/4 inch dice
  • 1 tbsp chopped garlic
  • olive oil
  • kosher salt and freshly ground pepper
  • 2 tbsp white wine (optional)
  • zest of 1 lemon
  • 1 tbsp Dijon mustard
  • 2 tbsp mayonnaise
  • 2 eggs
  • 1 cup panko bread crumbs
  • vegetable oil
Heat oven to 450 degrees F.

Place fish on a parchment paper-lined baking sheet. Drizzle the fillets with a little olive oil and spread the oil evenly over them with your hands. Give them a generous sprinkling of salt and pepper.

When the oven has reached 450 degrees, place fillets in the oven and roast for about 8 minutes. Remove from the oven and place them on a plate to cool.
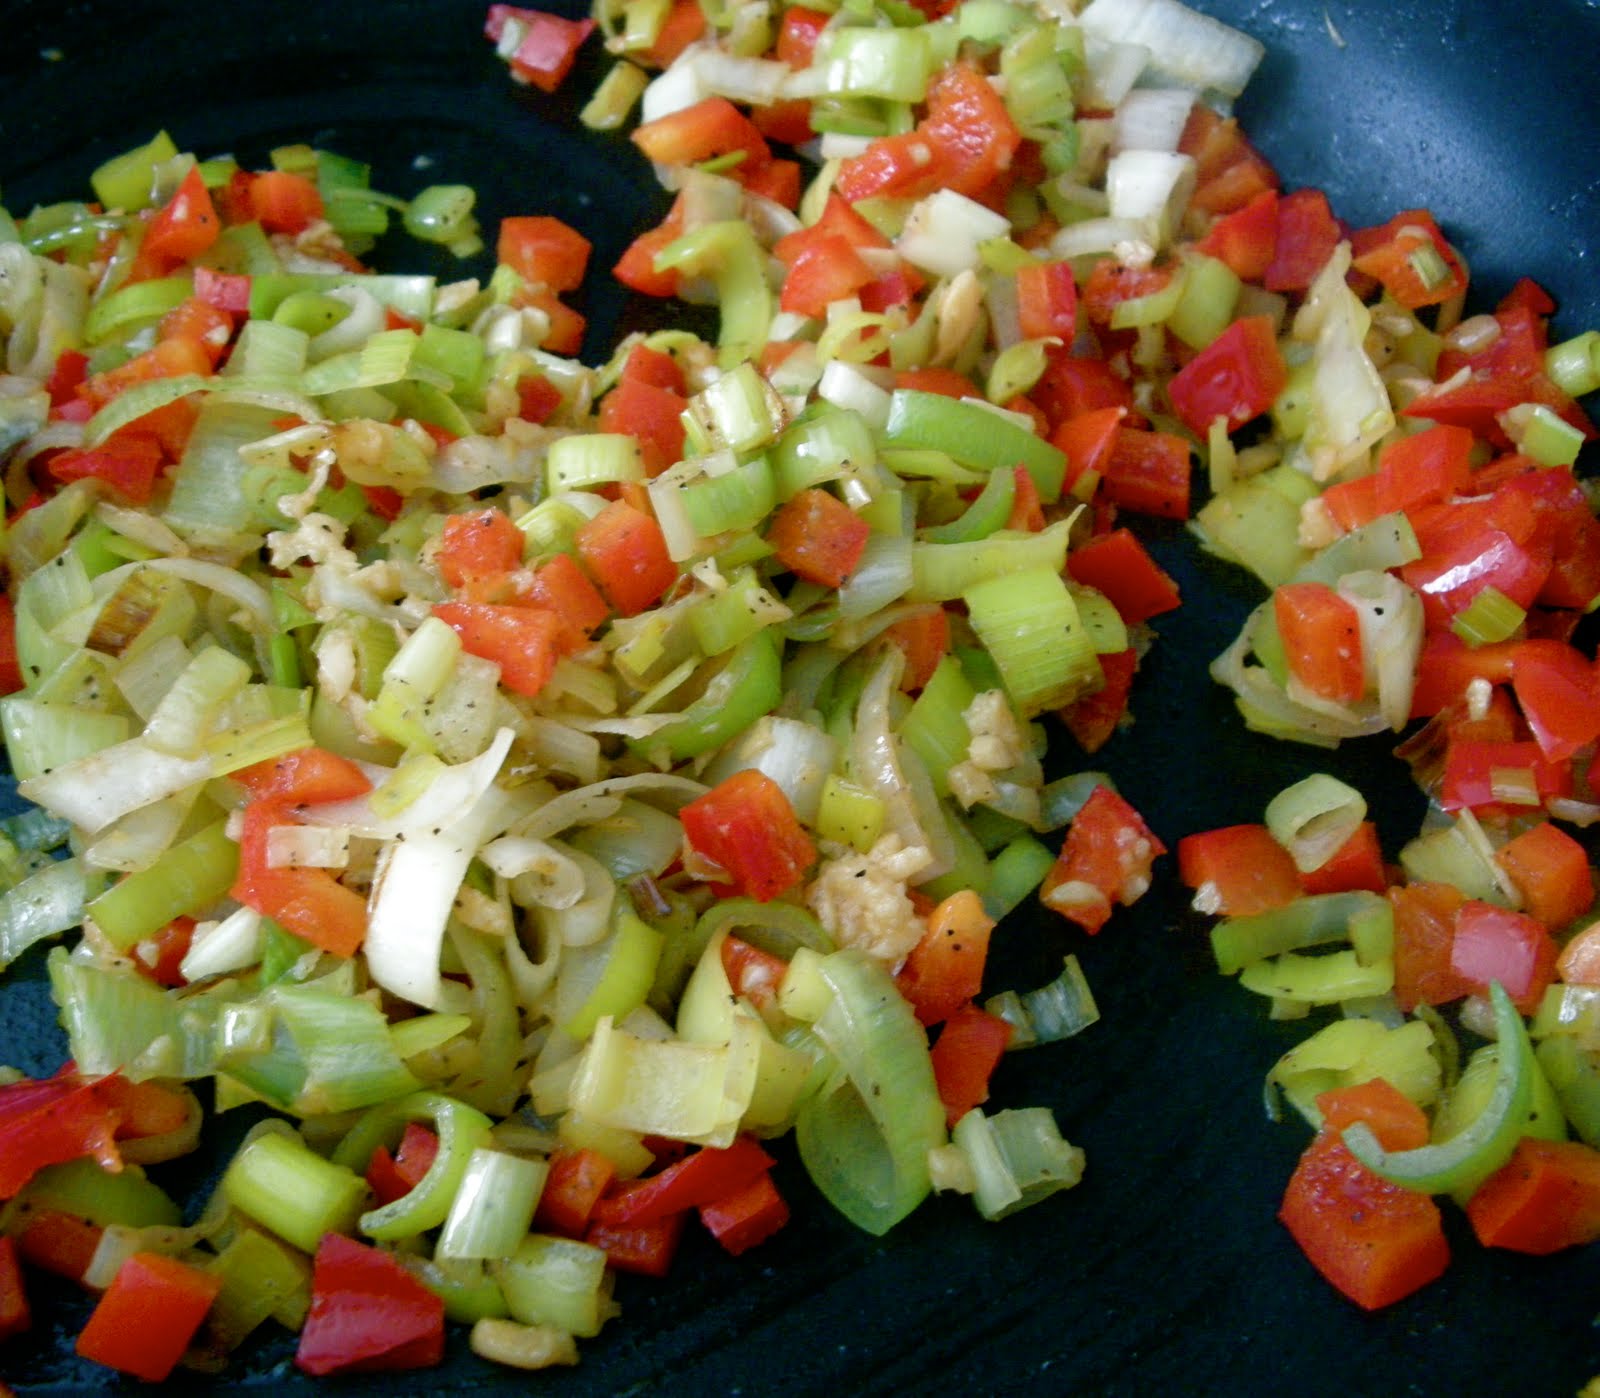
Heat olive oil in a large pan over medium heat. When oil is glistening, add the leeks, 1/2 teaspoon of salt and 1/4 teaspoon of pepper and cook for 5 minutes, stirring occasionally. Add the red bell peppers and garlic and cook for 3 more minutes(if you happen to have some white wine that's already open, add some in the last minute of cooking). Transfer to a bowl and set aside to cool completely.
When fish has cooled completely, use a fork to mash and flake it into small pieces. Leave it chunky though, you don't want mush.
In a large bowl, add the mustard, mayo and eggs and whisk together. Then add the fish, leek mixture, lemon zest and panko. Mix well but gently to combine everything. Put the bowl in the fridge for a while. Chilling it will help the patties stay together better.
Form into round patties, makes about six.
Heat up a tablespoon of vegetable oil in a large pan over medium heat. When the oil is glistening, add some fish cakes. Do not overcrowd. Cook about 3 minutes per side or until firm and golden brown. If you are doing batches, add a little more oil before you add more patties.

Serve with lemon wedges and your favorite tartar sauce (optional).

Cool Tools:

Saturday, March 27, 2010

Light and easy...

Now that Spring is officially here and the weather has been sunny and warm, my appetite has also changed. I'm craving lean grilled meats and fruits like peaches and strawberries. Some of my favorite fruits and veggies are at their peak in the springtime. Citrus fruits, cherries, strawberries, beets, asparagus, leeks, fennel, peas, arugula, spinach and carrots to name some of them.

Tonight's dinner was light and easy. I slightly altered the recipe for Grilled Shrimp Skewers from the post "Shrimp on the barby...". I guess they were pretty good because the kids were busy eating them before my hubby and I even got to the dinner table.

Grilled Paprika Shrimp

1 lb shrimp (about 20-25 large shrimp); defrosted completely if frozen; deveined; shells and tails removed
1 tbsp oil (I used grape seed oil)
1 tbsp chopped garlic
2 tsp smoked paprika
1/2 tsp salt
1/4 tsp pepper
bamboo skewers

Rinse shrimp with cold water and dry well with paper towels. Place shrimp in a bowl. Add the oil, garlic, smoked paprika, salt and pepper. Mix it all together and set it aside for at least a half hour.

Heat up the grill.

Skewer the shrimp and set on a plate. I fit about five shrimp per bamboo skewer. When your grill is very hot, place the shrimp skewers on it and turn down the heat to medium-high. Cook about 2 1/2 minutes per side with the lid closed. Plate and serve hot, warm or cold.

Friday, February 19, 2010

A real fun-guy...

I love the taste and texture of cooked mushrooms. I try to incorporate them into recipes whenever I can. To tell you the truth though, I never knew if they had much nutritional value. I knew I couldn't write this without doing a little research. Turns out, they have amazing nutritional value. In fact, they are the only natural fresh vegetable or fruit with vitamin D. If you get a chance, check out the Mushroom Council website. They list off a bunch of vitamins and minerals in mushrooms that can help fight off disease in our bodies. Cool! Now even more reason to love and eat them. 


Here is a mushroom-heavy appetizer I made. It would have been delicious as is but a little truffle butter took it to another level.

Mushroom Bruschetta

  • 2 tbsp unsalted butter
  • 1 tbsp olive oil
  • 10 oz crimini mushrooms, sliced
  • 10 oz white mushrooms, sliced
  • 1-2 tbsp of sherry, scotch or whisky
  • 1 tbsp of minced parsley
  • Salt and pepper
  • A pat of truffle butter or a drizzle of truffle oil (optional)
  • French baguette, 1/2 inch slices

Heat butter and oil in a large pan over medium high heat.
When butter is melted, add mushrooms. Let it cook for 10 minutes. Add the alcohol. Cook for another 5 minutes. You want most of the liquid to evaporate. Turn off the heat and add the parsley and truffle butter. Salt and pepper to taste. Stir to combine.

Toast bread slices under the broiler at 400 degrees F for about 5-7 minutes or until golden brown.  Spoon the mushrooms onto the toasted bread. Serve warm.


Cool Tools:

Monday, December 28, 2009

Let us eat shrimp in a cup...


Whenever I have Chinese food, chicken lettuce cups are usually part of the order.  The cold, crisp iceberg lettuce filled with the sweet and salty filling is such a great pairing.  I've never attempted to make it until tonight. I wanted to use shrimp instead of chicken though. What I came up with was surprisingly tasty and (I hope!?) good enough to share with all of you fine people.  It was a light dinner for two people but you could serve it as an appetizer or part of a meal.  I'm left with just enough room in my belly for some dessert!


Shrimp Lettuce Cups

2 tbsp vegetable oil
1 lb shrimp, deveined with shells and tails removed, cut into bite size pieces
8 oz can of sliced water chestnuts (Asian food section), well drained and chopped
2 tbsp of cilantro, chopped
2 stalks green onion, sliced thin
2 tsp garlic, minced fine
1/4  tsp ginger, crushed or powder
3 tbsp soy sauce
1 tbsp rice wine vinegar
1 tbsp sherry or another similar alcohol
1 tbsp of brown sugar
2 tsp of corn starch mixed well into 2 tbsp of water
small head of iceberg lettuce, separated into cup shaped pieces
Hoisin sauce (optional, it doesn't really need it)

This is a very fast process so have everything ready to go before you heat up your pan or wok.  In a small bowl, whisk the soy sauce, vinegar, , sherry, ginger, and brown sugar together.  Use a paper towel to dry your shrimp and water chestnuts so that there isn't excess liquid on them.  Heat up your oil in a pan over medium high heat.  Add your shrimp, water chestnuts and garlic and saute for a minute and a half. Then add the soy sauce mixture and stir everything around for another minute scraping up any brown bit on the bottom of the pan. Finally add in the corn starch/water solution and keep stirring it all around. Sauce should be thicker now. Turn off your heat and throw in the green onion and cilantro. Mix it all up gently. Transfer to a serving bowl.  Fill the lettuce cups with some of the shrimp and enjoy!

Friday, December 25, 2009

Let the good times roll...


I am a big fan of spinach and artichoke dip. If it is on the menu at a restaurant, I will often order it as an appetizer. It's a hot and gooey mess of cheese, spinach and chunks of artichoke hearts. Whoever came up with it originally is a genius! Not a bad party appetizer but it's not exactly good finger food. Your guests would have to put some on a plate and then scoop it up with the tortilla chips or if they don't use a plate then you will probably find lovely smears of dip all over your floors when you are cleaning up. That's always fun. I like to make a version that is wrapped up nicely in puff pastry. Easy to eat and delicious!

Spinach & Artichoke Palmiers

17.3 oz frozen puff pastry -2 sheets (make it from scratch if you want!)
12 oz frozen artichoke hearts
12 oz frozen chopped spinach
1/2 medium onion, chopped fine
2 cloves garlic, minced
3 tbsp cream cheese
1 cup shredded Parmesan
1 cup shredded Gruyere
Salt and pepper
Flour

Leave the artichoke and spinach out overnight to defrost. When completely defrosted, dump all of it into a colander or cheese cloth and start squeezing as much liquid out as possible. Take out the frozen puff pastry out to thaw for the recommended time. Preheat oven to 400 degrees F. Put the spinach and artichoke into the food processor and pulse about five time until chopped up but still coarse. Transfer to a large mixing bowl. Saute the onions for about four minutes, then add the garlic and saute for one more minute. Scrape all of this onion/garlic mixture into the spinach/artichoke, add the cream cheese and combine well. When it has cooled down, add the Gruyere and Parmesan cheeses. Fold in to combine.
Roll out the thawed puff pastry onto a floured board. Evenly spread out about 1 1/2 cups to 2 cups of the spinach mixture. Sprinkle with a little salt and pepper. Then start rolling opposite ends of the dough in towards each other. Keep everything quite tight. You will meet in the center and the dough will look like a butterfly. Slice the roll into 2/3 of an inch pieces. Each roll will yield about 12 slices. Place onto a parchment paper lined cookie shoot a couple inches apart. Bake for 18 minutes or until slightly brown.

*I had some filling left over that I put into a Ziploc and froze. I will have to see if it still tastes the same after being frozen.

Wednesday, December 16, 2009

Sweet pea...

While watching the Food Network one day I witnessed Giada De Laurentiis make the most amazing dish. It was a salmon served over this pea puree sitting in a pool of lemony broth. A few months later she made a similar pea puree but this time it was made into crostini. This pea "pesto" has since made regular appearances at our dinner table. Nowadays I don't even follow the recipe; I just eyeball the amounts and sometimes leave out the parmesan for a lighter taste. I defrost the organic frozen peas in the morning and when they are thawed out, I pulse them together in the food processor with the other ingredients. It's such a versatile ingredient. You can use it in place of guacamole and serve it with tortilla chips. Peas are lower in fat and less expensive than avocados (don't get me wrong, I LOVE avocados and their fat is the "good" kind) and have this natural sweetness. I've even had it with scrambled eggs and toast. So delicious! It's a great secret weapon when entertaining. You can serve it as an appetizer (served with tortilla chips, pea pesto crostini). You can use it as an elegant side and/or condiment. I think I might try spreading it onto toasted bread and adding some grilled veggies next for a super vegetarian sandwich!

Pea Pesto Crostini

Recipe courtesy Giada De Laurentiis

Pesto:

* 1 (10-ounce) package frozen peas, defrosted
* 1 garlic clove
* 1/2 cup grated Parmesan
* 1 teaspoon kosher salt, plus extra for seasoning
* 1/4 teaspoon freshly ground black pepper, plus extra for seasoning
* 1/3 cup olive oil

Crostini:

* 8 (1/2-inch thick) slices whole-grain baguette or ciabatta bread, preferably day-old, * see Cook's Note
* 1/3 cup olive oil
* 8 cherry tomatoes, halved or 1 small tomato, diced

Directions

For the pea pesto: Pulse together the peas, garlic, Parmesan, 1 teaspoon of salt and 1/4 teaspoon of pepper in a food processor. With the machine running, slowly add the olive oil until well combined, about 1 to 2 minutes. Season with additional salt and pepper, if needed. Transfer to a small bowl and set aside.

For the crostini: Preheat a stovetop griddle or grill pan on medium-high heat. Brush both sides of the sliced bread with olive oil and grill until golden, about 1 to 2 minutes. Transfer the bread to a clean surface and spread 1 to 2 tablespoons of the prepared pesto on each slice.

Top with tomato halves and serve.

*Cook's note: If you don't have day-old bread on hand, you can dry out fresh bread by putting the slices in a preheated 300 degree F oven until slightly crisp, about 5 minutes.